by admin | Sep 26, 2023 | Uncategorized
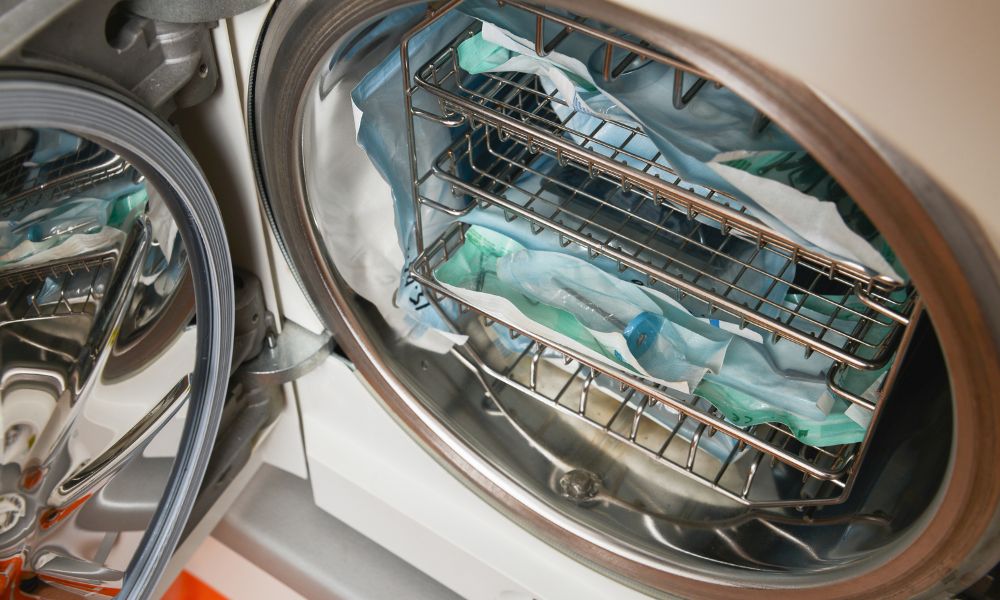
Medical facilities are the backbone of our healthcare system. They play a crucial role in diagnosing, treating, and preventing diseases. To ensure that these facilities function optimally, they must have the proper tools and equipment. Keep reading to discover the...
by admin | Sep 19, 2023 | Uncategorized
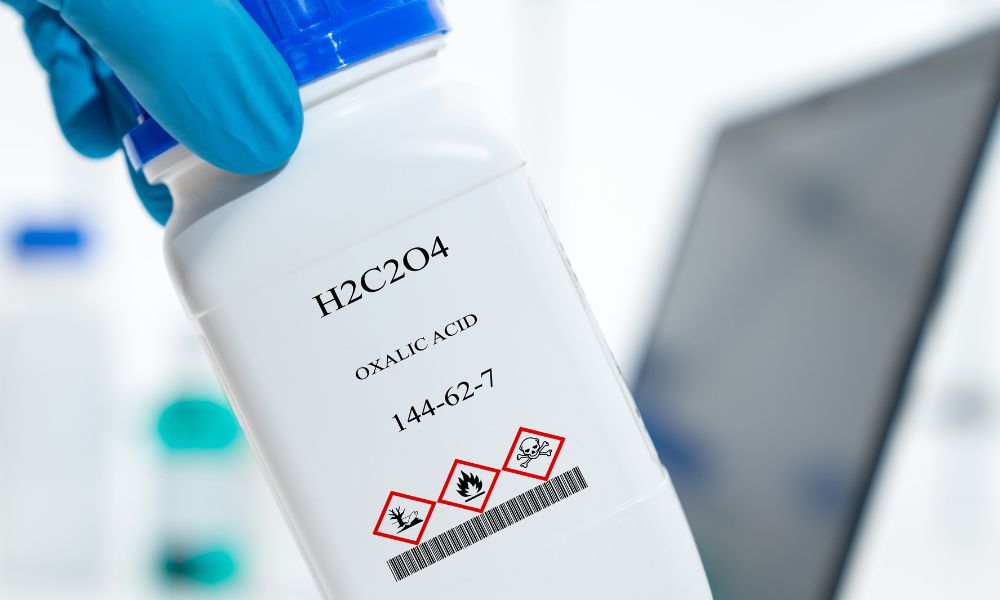
Have you ever heard of oxalic acid? It may be an ingredient in some of your go-to cleaning solutions and detergents. It has various chemical properties and a wide range of cleaning applications. Keep reading to learn more about oxalic acid and why it is often used as...

by admin | Sep 15, 2023 | Uncategorized
Are you looking for a chemical supplier for your laboratory, manufacturing facility, or other type of business? If so, you may find it difficult to choose one company to work with out of the numerous in the chemical supply industry. Instead of choosing at random,...

by admin | Sep 12, 2023 | Uncategorized
Have you ever wondered about the applications and uses of certain chemical compounds? Zinc chloride is a chemical material that has a wide range of applications and shows up in many resources we use daily, namely food products. Keep reading to learn how zinc chloride...

by admin | Sep 7, 2023 | Uncategorized
Many people training in the laboratory industry can accidentally use the terms reactant and reagent interchangeably. This is because they are both involved in the chemical reaction process. However, some key differences exist between these terms that you should know....

by admin | Aug 28, 2023 | Uncategorized
Have you ever wondered why certain types of alcohol fall under the list of ingredients in some cosmetics products? For example, ethyl alcohol offers many benefits to manufacturers and beauty products. Keep reading to learn how cosmetic companies and the industry use...